Quick answer
Where is my eSIM QR code?
Sign in to eSIMbundle, open Account → My eSIM and select your eSIM. If the eSIM is ready, select Start setup and choose your phone and installation method. The account will then show the QR code or the manual installation details available for that eSIM.
If the page says Preparing your eSIM, the installation details are not ready yet. Wait until the status changes to Ready to install or Setup available before trying to install it.
Where to find your setup details
Your eSIM installation details are stored inside the signed-in eSIMbundle account. They belong to the reusable eSIM profile, not to one individual destination bundle.
- Sign in to your eSIMbundle account.
- Open Account → My eSIM.
- Select the eSIM you want to install or review.
- Check the status shown at the top of the page.
- If the eSIM is ready, select Start setup.
- Choose your phone type.
- Choose the installation method shown for that device.
- Use the QR code or manual values displayed in the account.
The account may recommend a different installation method depending on whether you are viewing the page on the phone being installed or on another device.
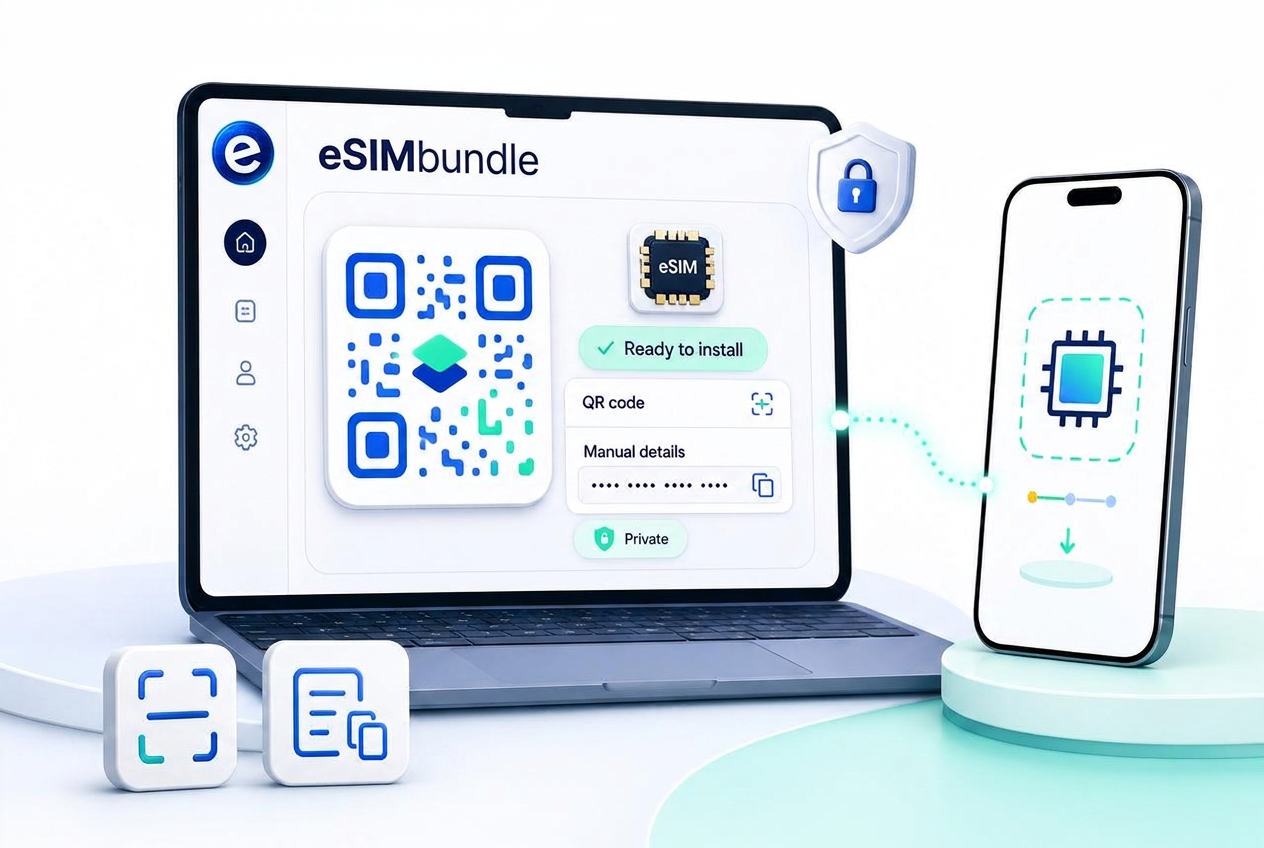
Setup-details snapshot
- OpenAccount → My eSIM
- Wait forReady to install
- MethodsQR or manual
- Keep privateQR and setup values
Avoid these mistakes
- Installing before details are ready
- Sharing the QR code
- Typing long values manually
- Assuming the QR is reusable
If your eSIM is still being prepared
Immediately after purchase, the account may temporarily show Preparing your eSIM. This means the reusable eSIM profile and its installation details are still being created.
Preparing your eSIM
The QR code and manual details are not available yet. The account says they will appear when preparation finishes.
Ready to install
The installation details are available. Select Start setup and choose your phone and installation method.
Installed
The eSIM has been marked as installed. You can still reopen the setup page to review the available details, but do not assume the profile can be installed again on another phone.
Preparation normally takes only a short period after purchase, but do not repeatedly reload, repurchase or create another account while waiting.
What the installation details mean
The exact values shown depend on how the eSIM profile was issued. Your account may show some or all of the following details.
- QR code
- A visual version of the eSIM installation information. Scan it from the phone’s Add eSIM screen, or use the supported same-device method shown by the account.
- SM-DP+ address
- The server address entered during manual eSIM installation. Copy it exactly as shown.
- Activation code
- A code entered together with the SM-DP+ address when manual installation requires it.
- Matching ID
- A profile identifier that may appear instead of a separate activation code. Use the field labels shown by the account and phone.
- Activation string
- A combined installation value used by some setup methods. Do not edit, shorten or reformat it.
- ICCID
- The unique identifier of the eSIM profile. It helps identify the profile but is not normally the first value entered during installation.
Use the exact values
Do not edit installation details
Spaces, punctuation and letter case can matter. Use the copy buttons in the account whenever possible instead of typing long values manually.
Choose the correct installation method
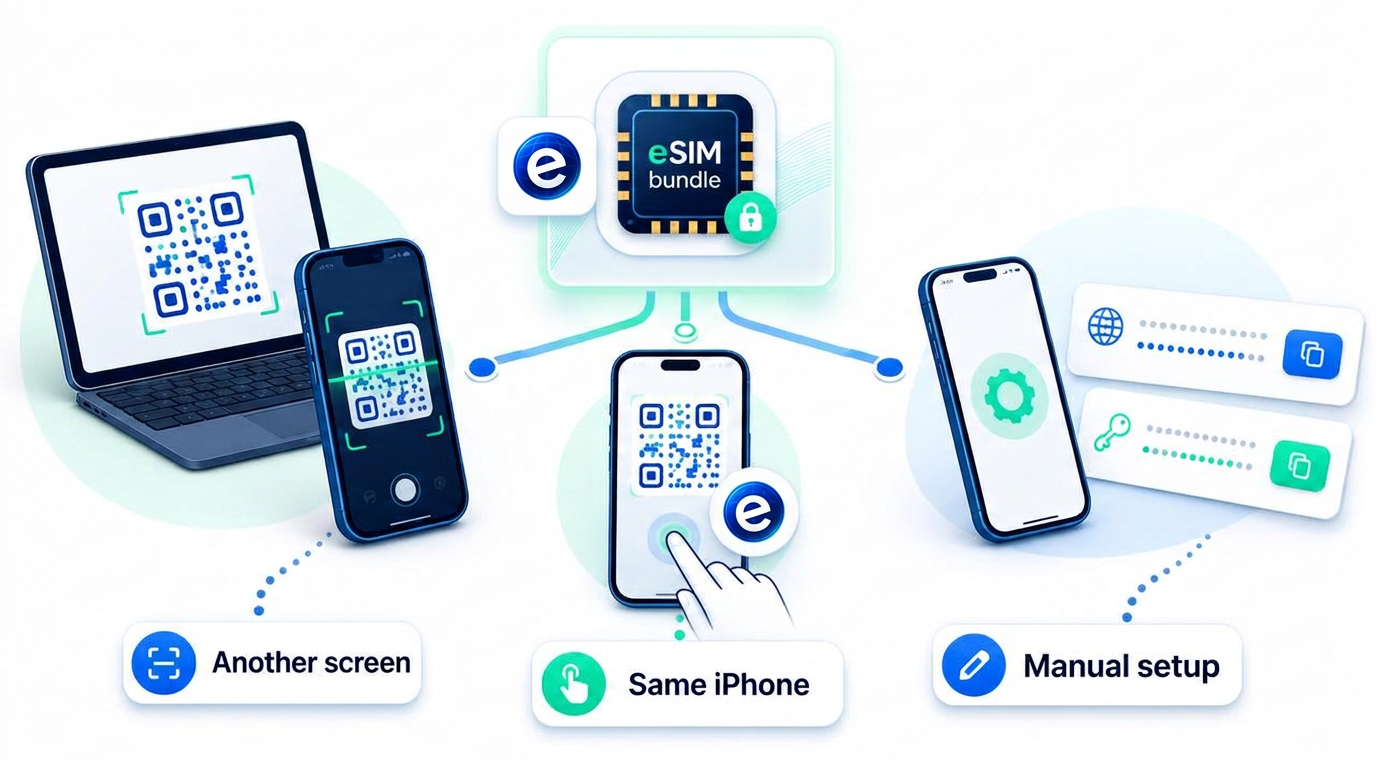
The account changes its recommendation based on the device being installed and the screen currently showing the account page.
Different screen
Scan the QR code
Best when the account page is open on a computer, tablet or another phone and the phone being installed can scan the screen.
Same iPhone
Press and hold the QR code
On a compatible iPhone with iOS 17.4 or later, press and hold the QR code in the browser and choose Add eSIM.
Same Android phone
Install manually
Copy the SM-DP+ address and the next required value into the phone’s eSIM setup screen.
Need a larger view
Use another signed-in screen
Copy the account setup-page link, sign in on another device and scan the QR code from there.
Only methods supported by the available installation details are shown. If the account does not offer a QR method for your eSIM, use the manual installation values shown instead.
The simple setup-details flow
Open My eSIM → Check status → Choose method → Install
- 1Account
Open Account → My eSIM
Open the reusable eSIM profile connected to your purchases.
- 2Status
Confirm the eSIM is ready
Wait if the page still says Preparing your eSIM.
- 3Method
Choose QR or manual setup
Use the method recommended for the device and screen you are using.
- 4Install
Complete setup on the phone
Follow the phone’s Add eSIM instructions and confirm only after the profile appears in its SIM settings.
Scan the QR code from another screen
This is usually the simplest method when the account page is open on a laptop, desktop computer, tablet or another phone.
- Open the eSIM setup page on the other screen.
- Sign in to the correct eSIMbundle account.
- Select Start setup.
- Choose the phone being installed.
- Choose Scan QR code or Use another screen.
- On the phone, open its Add eSIM screen.
- Scan the QR code displayed in the account.
- Follow the phone’s on-screen installation instructions.
- Confirm installation only after the eSIM appears in the phone’s SIM settings.
The setup link is safe to copy
The account-page link does not contain the installation credentials
The other device must still sign in to your eSIMbundle account before it can display the private QR code or manual values.
Install on the same iPhone
When the account page is open on the iPhone being installed, the account can recommend pressing and holding the QR code. Apple supports this QR method on iPhone with iOS 17.4 or later.
- Open the eSIM setup page on the iPhone.
- Select iPhone as the device.
- Choose Install on this iPhone.
- Press and hold the QR code.
- Select Add eSIM when that option appears.
- Follow the iPhone instructions.
- Return to the eSIMbundle account after installation.
- Confirm installation only when the eSIM appears in Mobile Service, Cellular or Mobile Data settings.
If Add eSIM does not appear when you press and hold the QR code, use manual installation or open the setup page on another screen instead.
View the complete iPhone setup guideInstall on the same Android phone
When the account page is open on the Android phone being installed, manual entry is often easier than trying to scan a QR code shown on the same screen.
- Open the eSIM setup page on the Android phone.
- Choose Samsung, Google Pixel or Other Android.
- Choose Install manually on this phone.
- Copy the SM-DP+ address.
- Open the phone’s Add eSIM or manual setup screen.
- Paste the SM-DP+ address.
- Return to the account and copy the activation code, Matching ID or activation string shown next.
- Paste that value into the corresponding phone field.
- Finish the setup inside the phone’s settings.
- Confirm installation only when the eSIM appears in SIM manager or mobile-network settings.
Google Pixel
Settings → Network & internet → SIMs → Add SIM → Set up an eSIM
Samsung Galaxy
Settings → Connections → SIM manager → Add eSIM
Other Android
Open Settings and search for eSIM, Add eSIM, Add SIM or SIM manager.
Android labels can vary by phone brand, model, Android version, country and carrier configuration. Follow the closest equivalent shown on the device.
View the complete Android setup guideUse manual installation details
Manual installation is the fallback when the QR code cannot be scanned or when the account page is open on the same Android phone being installed.
- SM-DP+ address••••••••••••••••
- Activation code or Matching ID••••••••••••••••
- Activation stringLPA:1$••••••••$••••••••
- ICCID•••• •••• •••• ••••
The account shows only the values available for that specific eSIM. Some profiles use a separate activation code, some use a Matching ID and some expose a combined activation string.
Copy, do not rewrite
Use the account’s copy buttons
Do not remove characters, add spaces or type a shortened version. Installation can fail when a long value is entered incorrectly.
Download, enlarge or print the QR code
The account provides tools that can make scanning easier when the standard QR display is too small or when you want to move the QR to another screen.
Full screen
Enlarges the QR code inside the browser so another device can scan it more easily.
Download
Saves an image of the QR code so you can display it on another trusted device or keep a private offline copy.
Print
Opens the browser’s print flow so the QR code can be scanned from paper.
Downloaded or printed QR codes contain private eSIM installation information. Store them securely and destroy printed copies when they are no longer needed.
After the eSIM is installed
When the eSIM appears in the phone’s SIM or mobile-network settings, return to the account and mark the installation as complete.
- The account status changes to Installed.
- The eSIM remains on the phone between trips.
- New data bundles are added to the same reusable eSIM automatically.
- You can open Account → Bundles to manage when each data bundle starts.
- You can reopen the setup page to review the available details.
- Reopening the page does not guarantee the profile can be installed again on another device.
Choose when the data bundle starts
Installing the eSIM profile and starting a destination data bundle are separate actions.
Understand activation and validityKeep your installation details private
The QR code and manual setup values can be used to install the eSIM profile. Treat them like private account credentials.
- Do not share the QR code with another person.
- Do not post screenshots of the QR code publicly.
- Do not paste the activation string into public support forums.
- Do not send the manual details in an untrusted group chat.
- Sign out after viewing the setup page on a shared device.
- Delete downloaded QR images from shared computers after use.
- Destroy printed copies when they are no longer needed.
- Contact support if you believe the setup details were exposed.
The copied setup-page link does not contain the activation credentials, but a signed-in account session can display them. Protect the account itself as well.
What not to do
- Do not try to install while the status still says Preparing your eSIM.
- Do not scan the QR code using an ordinary camera app when the phone is asking you to use Add eSIM.
- Do not expect a phone to scan a QR code displayed on the same screen.
- Do not manually type long installation values when a copy button is available.
- Do not edit or shorten the activation string.
- Do not assume every eSIM has both QR and manual installation methods.
- Do not mark the eSIM as installed before it appears in the phone’s settings.
- Do not share or publicly upload the QR code.
- Do not delete the installed eSIM because you want to review the setup details.
- Do not assume the QR code can be reused on another phone.
- Do not buy another data bundle merely because the QR code is temporarily unavailable.
Remember
The QR code installs the eSIM profile — not each data bundle
You install the reusable eSIM once. Destination data bundles are then attached to that eSIM separately.
If you cannot find or use the setup details, check in this order
Check the account status, device choice and installation method before deleting anything or purchasing again.
- Confirm that you are signed in to the account used for the purchase.
- Open Account → My eSIM and select the correct eSIM profile.
- Check whether the status says Preparing your eSIM, Ready to install, Installed or Setup issue.
- If it says Preparing your eSIM, wait for the installation details to become available.
- If the page is ready, select Start setup and choose the correct phone.
- Check whether the account offers QR, manual or another-screen setup for that eSIM.
- If the QR code is on the same Android phone being installed, use manual installation instead.
- If the QR code is too small, use Full screen, Download or Print.
- If the iPhone does not show Add eSIM after a long press, use manual installation or another screen.
- If manual setup fails, copy the SM-DP+ address and activation value again without changing them.
- Confirm the phone supports eSIM and is not carrier locked.
- Do not delete an eSIM profile that already appears in the phone’s settings.
- Do not assume the same QR code can be installed repeatedly.
- Contact support with the visible account status and device model if setup still fails. Never send the full QR code or activation values in a public message.
Official sources referenced
This guide is based on the current eSIMbundle account installation flow and official Apple, Google Pixel and Samsung Galaxy eSIM setup documentation.
Frequently asked questions
Where is my eSIM QR code?
Sign in to eSIMbundle, open Account → My eSIM, select your eSIM and choose Start setup. After choosing your phone and installation method, the account displays the QR code or manual details available for that eSIM.
Why is my QR code not showing yet?
The eSIM may still be in Preparing your eSIM status. The QR code and manual details appear after the profile is ready for installation.
Can I scan the QR code from the same phone?
A phone normally cannot use its camera to scan a QR code displayed on the same screen. Use the supported same-iPhone press-and-hold method, install manually or open the account page on another screen.
Can I install the eSIM directly from the QR code on my iPhone?
On an iPhone with iOS 17.4 or later, press and hold the QR code in the browser and choose Add eSIM when that option appears. Otherwise, use manual installation or display the QR code on another screen.
How do I install on the same Android phone?
Choose manual installation in the account, copy the SM-DP+ address and the activation code, Matching ID or activation string shown, then paste them into the phone’s Add eSIM screen.
What is an SM-DP+ address?
It is the server address used during manual eSIM installation. Copy it exactly as shown in the eSIMbundle account.
What is a Matching ID?
It is a profile identifier used by some eSIM installation flows. The account may show it instead of a separate activation code.
What is the activation string?
It is a combined eSIM installation value. Copy the complete string exactly as shown and do not remove characters or change its formatting.
Do I need the ICCID to install the eSIM?
Usually not. ICCID identifies the eSIM profile, while the QR code, SM-DP+ address and activation details are normally used for installation.
Can I download or print the QR code?
Yes. The account can enlarge, download or print the QR code. Treat any downloaded or printed copy as private installation information.
Can I share the QR code with someone else?
No. The QR code contains private installation information for your eSIM profile. Do not share it or post it publicly.
Can I reuse the QR code on another phone?
Do not assume that you can. Some eSIM profiles can only be installed once. Contact support before deleting, transferring or attempting to reinstall the profile on another phone.
Does installing the eSIM start my data plan?
Not necessarily. Installing the reusable eSIM profile and starting the destination data bundle are separate actions. The bundle starts according to the option selected under Account → Bundles.
Why does the account say Installed when I can still view the setup details?
Installed means the profile has been marked as present on the phone. The account can still let you review the setup details, but this does not guarantee they can be used to install the profile again.
What should I do if manual installation fails?
Copy the values again directly from the account, confirm that you selected the correct manual fields on the phone and check that the device supports eSIM and is unlocked. Do not delete an existing profile or alter the activation string.
